Replacing Violin Pegs
Violin pegs become worn, or contaminated and sometimes either stick or will not hold. Replacing pegs can be done by almost any player, but requires some expensive specialty tools and a little practice.
There are a few things to keep in mind;
Every peg should be fitted to a particular peg hole. Do not exchange one for another.
Be very careful when using the peg hole reamer. A destroyed peg costs a couple of dollars, but overzealous use of the reamer can necessitate a pegbox bushing job, which is expensive and not a do-it-yourself procedure.
When applying any kind of pressure to the side of the pegbox, support the opposite side.
Tools and Material
30:1 Peg Hole ReamerPeg Shaver
Knife
Slot files or small fine tooth file
1mm drill bit (1.5mm will suffice)
Sandpaper (240, 400 and 600 grits)
Peg Compound
Violin pegs
After removing the string(s) and old peg(s), ream the peg holes. Only remove as much material as necessary to true up the holes. There should be a slight ~2 degree tilt upward from the peg side.
It is helpful to leave the other 3 pegs installed and work on one at a time. This will help prevent accidentally reaming a hole from the wrong side
Once the hole is true, turn the reamer backwards 2-3 turns to start burnishing the hole
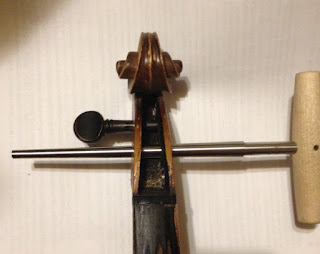
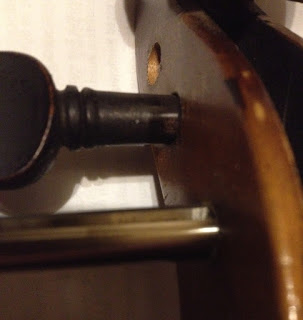
The following photo shows the reamer in the peg hole. Notice the D peg hole is wallowed and the peg has a curve worn in it, rather than the smooth 30:1 taper as when new
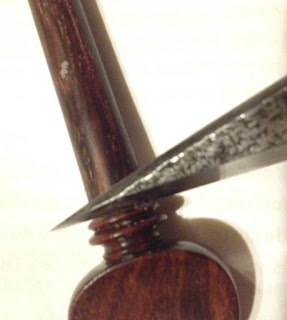
Once the peg hole is trued up (removing the least amount of wood from the pegbox as needed), score the new peg with a sharp knife right next to the collar. This will prevent ripout of the collar when shaving the peg.
Make sure the peg shaver is adjusted properly. Practically all violin pegs are made to a 30:1 taper. Some very, very old instruments were made with a 20:1 taper. If you have one of these rare violins, you should probably think again about replacing the pegs.
The best way to adjust the peg shave is to loosen the screws retaining the blade, carefully insert the reamer with the cutting edge(s) away from the blade, and adjust the blade accordingly.
Begin shaving the peg, taking very small cuts to keep the peg perfectly round and to prevent tear-out.
Check the fit often to avoid cutting the peg too small!
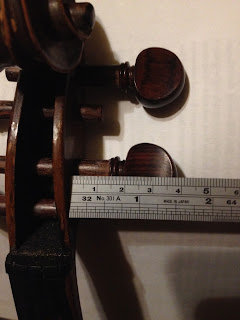
Continue shaving the peg and checking the fit until the end of the peg is 40mm from the peg box outer wall. Once the peg is sanded, and doped you will end up with the proper distance of 36-38mm
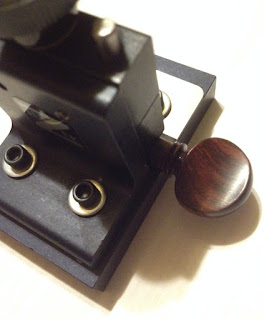
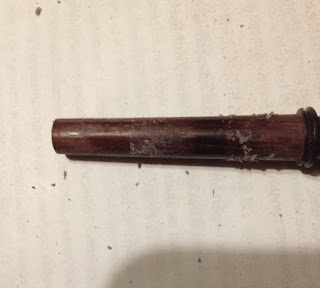
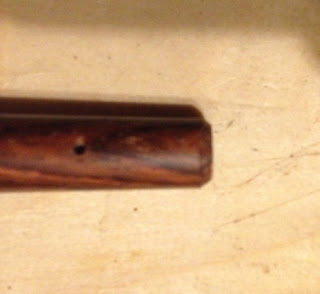
Here is an example of the shavings for one peg -
Sand the peg with 240 grit, 400 grit and 600 grit sandpaper in progression.
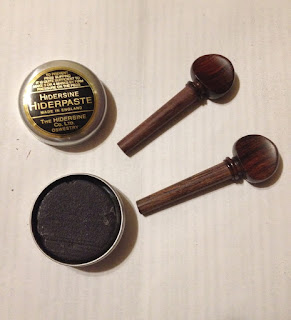
After sanding, apply a generous amount of Hindersine Hinderpaste Peg Compound or equivalent. DO NOT use Hill's Peg Compound. You will ruin the peg and seriously contaminate the peg holes in the pegbox. Hill's Peg Compound is a product made to address improper peg maintenance and does not work well even for that. If you don't have access to or cannot obtain Hinderpaste or an equivalent, use ordinary bar soap.
For the first application apply the Hinderpaste on the entire shaft of the peg. Turn the peg in the corresponding peg hole pushing the peg in with a small amount of force.
Wipe the peg clean with a clean cloth, and apply more Hinderpaste. After the first application, you will be able to see where the peg contacts the pegbox and apply the compound only to those areas.
Repeat application of the Hinderpaste compound 3 or 4 times or until the peg turns smoothly in the hole without binding.
The peg will now need to be cut to length. Push the peg into the corresponding hole and mark the excess on the opposite side of the pegbox.
Remove the peg and using a fine-tooth saw, cut off the excess.
When installed fully, the peg should sit 1mm below the surface of the pegbox. I mark the peg flush and use a 1.2mm kerf Japanese pullsaw, which leaves the correct depth.
Sand the end of the peg where it was cut, and file and sand a small chamfer on the peg end.
With the peg installed, mark a spot 1/3 of the distance from the inside wall of the pegbox to the opposite side, measuring from the side the peg is installed from; from the left for the G and D pegs, and from the right for the A and E pegs.
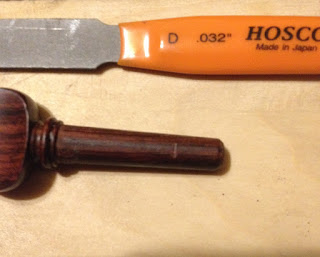
Cut a small groove in the exact middle of the diameter of the peg, at the 1/3 mark. I use special string slot files, but a regular small, fine file will work. The groove not only helps center the drill bit when drilling the string holes, but it creates a radius for the string where it come out of the hole.
Make sure the groove is parallel to the peg "handle". In other words, lay the peg flat when making the groove.
Drill a 1 - 1.5mm hole in the center of the groove, all the way though the peg.
Install the pegs and strings

